It’s getting near spring again.
This year, I’m expanding my growing area. My area has clay for soil instead of that nice sandy loam the areas to the north, south, and east of me have.
Over the years, I’ve been building raised boxes and buying “decent” dirt to grow them in (from a local company).
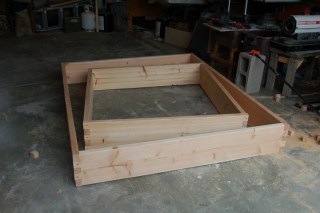
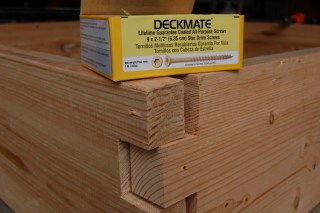
If you’re not demanding the prettiest box in the world, you can build these for about $1/linear foot (a 4’x4′ box is 16 linear feet), plus $2.00 in screws. When assembled, the box joint design won’t come apart for many many years.
Here’s how I build them, step by step:
|
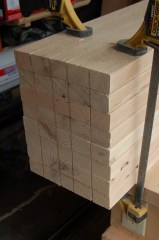
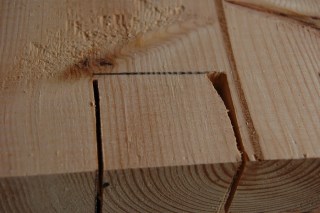
Cut your sides (you’ll need 2 “left & right”, and 2 “top and bottom” for each box. Stack them with one end ‘matching’, and mark off 5 equal segments on the top and bottom board (I use 2×10’s, which is about 1 7/8″. I mark from either side toward the center. Then, make lines connecting them (I use a “Sharpie”). With a circular saw, cut up the lines about 1 5/8″ deep (just a bit deeper than the width of the board). Turn the pile around, line up the ends, and repeat. |
||
|
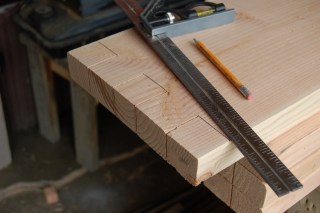
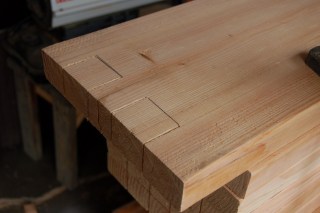
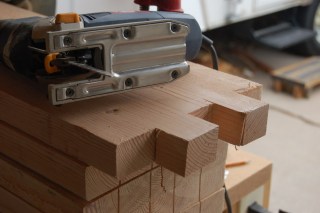
TWO of the sides will need 3 notches, and 2 of the sides will need 2 notches. Make sure you’ve got two opposite sides selected, and on one set, mark cutouts for 2 notches. On the other set, mark cutouts for 3 notches. Do that for both ends of the board, and make sure you’re getting both ends (sets) with the right amount of notches! |
||
|
||
|
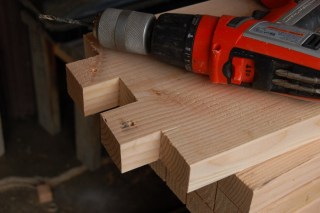
When you get the notches cut out, drill a hole in the center of each of the remaining ‘teeth’. I use a 5/32″ drill bit. This step is necessary to keep the ‘teeth’ from cracking when the pieces are screwed together. |
||
|
Loosely fit everything together, and make sure everything looks like it will line up OK. Sometimes, if the initial cuts with the circular saw weren’t ‘right on’, you might have to swap a piece end-for-end. If you were too casual cutting the original cuts, you can trim things with the jig saw easily. |
||
|
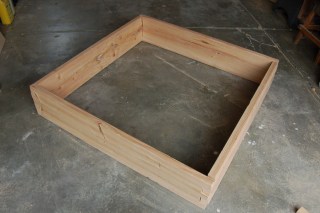
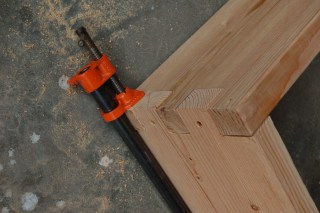
I use 2 1/2″ deck screws, which are almost weatherproof. Each side takes 5 screws. I clamp the bottom down (fairly loosely), and put screws in so the ‘non-clamped’ side will draw into the clamped side. If the boards are warped badly, you might have to clamp both the top and bottom. |
ALL DONE! Well, maybe sort of. The bare wood will last about 10 years. If you coat them with deck stain (or exterior paint), you’ll get another 5 years of life out of them.
These things take about an hour to build, once you get the hang of it. I’ve got 6 boxes 3′ x 10′ (for tomatoes, peppers, beans, etc), 7 boxes 2′ x 2′ (for squash), and now I’ve got a 4′ x 4′ box for “herbs”, and a 5′ x 6′ box for more squash (and maybe a couple of peppers).
enjoy.

